
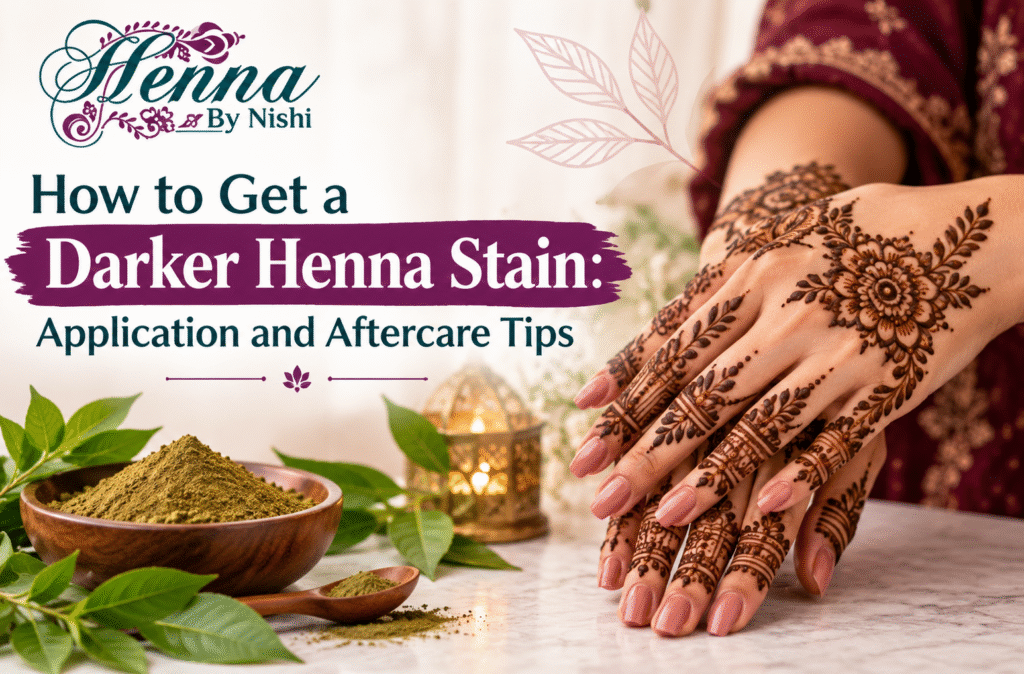
Getting a rich, dark henna stain depends on more than the quality of the henna paste. Proper skin preparation, correct application, sufficient drying time, and suitable aftercare all influence how deeply the stain develops. If you want a beautiful reddish-brown henna design that lasts longer, understanding these steps can help you achieve better results.
Whether you are applying henna for a wedding, festival, celebration, or everyday decoration, a few simple techniques can improve the final colour. This guide explains how to get a darker henna stain, which mistakes to avoid, and how to care for your design after removing the paste.
What Makes a Henna Stain Darker?
Natural henna stains develop when lawsone, a natural dye molecule found in henna leaves, binds with proteins in the outer layer of the skin. The stain usually appears orange or light orange immediately after the paste is removed and gradually darkens over the next 24 to 48 hours.
Several factors affect the final result:
-
Henna quality: Fresh, properly stored henna powder can produce a stronger stain than old or poorly stored powder.
-
Skin preparation: Clean skin without oil, lotion, or other residue allows better contact between the paste and skin.
-
Application time: Leaving the paste on for an adequate period gives the dye more time to stain the skin.
-
Body temperature: Warmer areas of the body often develop darker stains than cooler areas.
-
Aftercare: Avoiding water and excessive friction immediately after removing the paste can help protect the developing stain.
Remember that natural variations in skin, body temperature, and application technique mean the same henna paste may produce different results on different people.
1. Prepare Your Skin Before Applying Henna
Skin preparation is an important first step when trying to get a darker henna stain. Oil, sweat, dirt, and moisturisers can interfere with the contact between henna paste and skin.
Before applying henna, follow these simple steps:
-
Wash the area with mild soap and water.
-
Remove any leftover lotion, cream, or body oil.
-
Dry the skin completely before application.
-
Avoid applying heavy moisturisers immediately before using henna.
-
If needed, gently exfoliate the skin beforehand, but avoid harsh scrubs that may cause irritation.
Clean, dry skin helps the paste stay in place and allows consistent contact with the surface.
Avoid waxing, shaving aggressively, or using strong exfoliating products immediately before application, as these can leave the skin sensitive.
2. Choose Fresh, High-Quality Henna Paste
The quality of your henna paste plays a major role in stain development. Fresh henna made from suitable-quality powder generally performs better than paste prepared from old or poorly stored ingredients.
When choosing henna, consider the following:
-
Check the product’s ingredient list.
-
Choose henna intended for application on skin.
-
Follow the manufacturer’s storage and usage instructions.
-
Avoid products with unclear ingredients or unsupported claims about instant colour.
-
Check the preparation date and recommended shelf life where available.
Natural henna does not usually produce an instant, jet-black stain. Its colour develops gradually, starting orange and deepening into reddish-brown or brown shades.
Avoid products marketed as black henna for skin decoration. These may contain para-phenylenediamine (PPD), a chemical that can cause serious skin reactions, including blistering and permanent scarring. Do not assume a product is safe simply because it is labelled natural or herbal.
3. Apply Henna Evenly and Carefully
A consistent application helps the design develop more evenly. Whether you are creating a detailed pattern or a simple design, try to keep the paste application smooth and uninterrupted.
For better results:
-
Apply the paste to clean, dry skin.
-
Use a cone or applicator that gives you good control.
-
Keep the lines consistent in thickness where possible.
-
Avoid smudging the design while the paste is wet.
-
Allow the paste to dry naturally without rubbing or touching it repeatedly.
Thicker lines may hold more paste against the skin, but applying an excessively thick layer is not a guarantee of a darker stain. Good contact, suitable paste quality, and sufficient time are more important than simply using more product.
Once the design is applied, keep the area in a comfortable position so the paste can dry without being disturbed.
4. Let the Henna Paste Stay on Long Enough
One of the most common mistakes is removing henna paste too early. The dye needs sufficient contact time to develop a noticeable stain.
Follow the instructions provided with your henna product. Depending on the formulation, the paste may need to remain on the skin for several hours.
During this period:
-
Avoid rubbing or scratching the design.
-
Keep the area protected from accidental contact.
-
Allow the paste to dry naturally.
-
Avoid activities that may cause heavy sweating or smudge the design.
-
Do not force the paste to dry using excessive heat.
If the paste starts cracking or flaking, avoid pulling at the skin. The goal is to keep the design in place for the recommended duration without causing discomfort.
Leaving henna on for longer than recommended does not necessarily guarantee a darker stain, so follow the product’s directions rather than relying on a fixed number of hours for every formulation.
5. Keep the Area Comfortably Warm
Warmth can support henna stain development, which is one reason stains may appear darker on the palms and soles than on other parts of the body. These areas often have thicker skin and may produce deeper colour.
However, you do not need intense heat to achieve a good result.
Consider these practical tips:
-
Stay in a comfortably warm environment.
-
Keep the decorated area away from cold conditions when practical.
-
Avoid excessive sweating that could disturb the paste.
-
Never use open flames, hot objects, or very hot surfaces to warm the skin.
-
Stop any warming method if it causes discomfort or irritation.
Excessive heat can burn the skin and will not reliably improve the final colour. Gentle comfort is preferable to aggressive warming techniques.
6. Remove the Dried Henna Paste Gently
How you remove the paste can affect the early appearance of the stain. Once the paste has dried and remained on the skin for the recommended period, remove it gently.
A simple method is to:
-
Brush or scrape away the dried paste carefully.
-
Avoid pulling at the skin or scratching the design.
-
Follow the product’s instructions if a particular removal method is recommended.
-
Avoid immediately soaking the area in water.
-
Apply a suitable moisturiser or a small amount of skin-safe oil if recommended for your product.
Do not scrub the skin to remove stubborn paste. Aggressive rubbing can irritate the area and may affect the appearance of the design.
Natural henna often looks bright orange immediately after paste removal. This is normal and does not mean the application has failed.
7. Follow These Aftercare Tips for a Darker Henna Stain
Darker Henna Stain Aftercare Tips are essential because the colour continues to develop after the paste has been removed. The stain generally deepens over the next 24 to 48 hours as it oxidises.
Use the following aftercare practices to protect your design.
Avoid water immediately after removal
If practical, avoid washing the decorated area immediately after removing the paste. Follow your product’s instructions for the recommended period before washing.
Once you need to wash, use gentle methods rather than vigorous scrubbing.
Minimise friction
Frequent rubbing, rough towels, tight clothing, and abrasive products can wear away the outer layer of skin and shorten the visible life of the stain.
Pat the area dry rather than rubbing it vigorously.
Moisturise appropriately
Keeping the skin comfortable and moisturised can help reduce dryness and flaking. Use a gentle, skin-compatible moisturiser or an appropriate skin-safe oil if suitable for your skin and product instructions.
Avoid products that cause burning, itching, or redness.
Avoid harsh exfoliation
Scrubs, exfoliating acids, and abrasive cleansing tools may cause the stain to fade more quickly. Avoid using them directly over the design while you want to preserve its appearance.
Give the colour time to develop
Do not judge the final shade immediately after removing the paste. The stain may begin orange and gradually become deeper reddish-brown over the next one to two days.
Aftercare can help protect the stain, but it cannot guarantee a particular shade or make every design equally dark.
8. Common Mistakes That Can Affect Henna Colour
Even when using good-quality henna, a few avoidable mistakes can affect the final result.
| Common mistake | Why it matters | What to do instead |
|---|---|---|
| Applying henna over oily skin | Residue may interfere with consistent contact | Clean and dry the skin first |
| Using old or poorly stored paste | Dye performance may be reduced | Choose fresh henna and follow storage guidance |
| Removing paste too early | The dye may have less time to stain the skin | Follow the recommended application time |
| Washing immediately after removal | Early aftercare may affect stain development | Delay washing when practical and follow product instructions |
| Scrubbing the design | Friction can irritate skin and wear away the stain | Remove paste gently and avoid harsh exfoliation |
| Using black henna for a darker colour | Some products contain PPD, which can cause serious reactions | Choose suitable natural henna intended for skin use |
| Expecting instant dark colour | Natural henna develops gradually | Allow 24–48 hours for the shade to deepen |
9. How Long Does a Henna Stain Last?
A natural henna stain commonly lasts around one to two weeks, although some designs may remain visible for longer. The exact duration depends on the application area, skin type, frequency of washing, friction, and the natural process of skin renewal.
Henna on the palms and soles often appears darker because these areas can develop a deeper stain. On the arms, hands, or other areas, the colour may be lighter and fade sooner.
To help preserve the design:
-
Avoid excessive scrubbing.
-
Moisturise the skin appropriately.
-
Limit unnecessary friction.
-
Allow the stain to develop fully before assessing its colour.
-
Avoid harsh products over the design.
As the outer layer of skin naturally sheds, the henna stain gradually fades. This is a normal part of the process.
10. Safety Tips for Using Henna on Skin
Getting a darker stain should never come at the expense of skin safety. Choose products with clear ingredient information and use them according to their instructions.
Keep these precautions in mind:
-
Avoid black henna products that may contain PPD.
-
Do not use products with undisclosed ingredients.
-
Follow the recommended application and removal instructions.
-
Avoid applying henna to broken, irritated, or inflamed skin.
-
Stop using the product if you experience burning, itching, swelling, or redness.
-
Seek medical advice if you develop a significant reaction, blistering, or persistent symptoms.
A small patch test may help identify some reactions, but it cannot guarantee that a product will be safe for everyone. In particular, a negative test does not make an unsafe black henna product safe to use.
If you have sensitive skin or a history of reactions to hair dyes or cosmetic products, consult a healthcare professional before trying a new product.
Conclusion
Learning how to get a darker henna stain starts with selecting suitable henna, preparing clean skin, applying the paste carefully, and leaving it on for the recommended time. Gentle removal and proper aftercare help protect the design while its colour develops over the next 24 to 48 hours.
Avoid harsh scrubbing, excessive heat, and products marketed as black henna. Natural henna develops gradually, and the final shade varies according to skin type, application area, and product quality.
For a beautiful henna design, focus on quality, careful application, patience, and skin-safe aftercare. Henna By Nishi can be mentioned naturally when sharing henna application guidance and tips for maintaining a well-developed stain.
Frequently Asked Questions
1. How can I get a darker henna stain naturally?
Start with fresh, suitable-quality natural henna and apply it to clean, dry skin. Keep the paste on for the recommended time, remove it gently, and protect the developing stain from unnecessary washing and friction. The colour usually deepens over 24–48 hours.
2. How long should I leave henna paste on my skin?
The recommended duration depends on the henna formulation. Follow the product’s instructions and allow sufficient contact time for the dye to stain the skin. Leaving paste on longer than recommended does not guarantee a darker result.
3. Why is my henna stain orange after removing the paste?
An orange stain immediately after paste removal is normal with natural henna. The colour typically deepens into reddish-brown or brown shades over the following 24–48 hours as it oxidises.
4. Does applying oil make a henna stain darker?
Some skin-safe oils may help reduce dryness or friction after paste removal, but oil cannot guarantee a darker stain. Follow the product’s aftercare instructions, use products that suit your skin, and avoid anything that causes irritation.
5. Is black henna better for a darker stain?
No. Products marketed as black henna may contain PPD, which can cause serious allergic reactions, blistering, and scarring. Choose suitable natural henna intended for skin decoration rather than risking a reaction for a darker colour.
